What is a Titration Experiment? – A Level Chemistry Guide
A-Level Chemistry is a fascinating subject that not only deepens students’ understanding of the natural world but also equips them with essential skills for future studies and careers in science. One of the most important practical techniques in A-Level Chemistry is titration. Learning this skill is crucial for understanding chemical reactions, stoichiometry, and the precise measurement of substances. So what is a titration experiment, and how we aim to help you?
In this guide, we’ll explore what is a titration and offer step-by-step explanation of how to carry out a titration experiment. Our goal is to help students build confidence in performing this key practical experiment, an integral part of A-Level Chemistry, while preparing effectively for their exams. So, let’s find out everything about titration experiment for A level chemistry.
What Is A Titration Experiment?
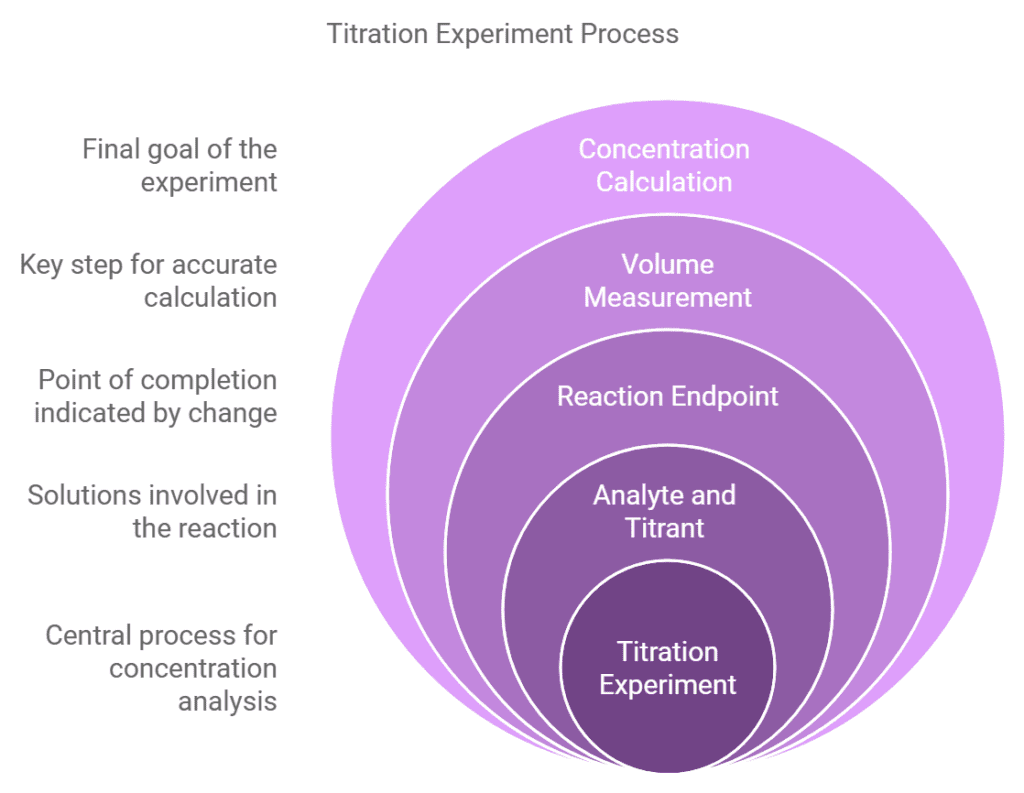
A titration experiment is a laboratory technique used to determine the concentration of a solution by reacting it with another solution of known concentration. This process typically involves a neutralisation reaction between an acid and a base, though it can also apply to redox and precipitation reactions.
Titration is vital for analytical chemistry because it provides a precise method to calculate concentrations, monitor reaction progress, and determine purity in chemical substances. Furthermore, it is widely used in industries such as pharmaceuticals, food production, and water quality testing, demonstrating its significant practical applications.
What Are 6 Steps of a Titration Experiment?

Performing a titration requires careful attention to detail and the use of specific equipment. Here’s a detailed step-by-step guide:
Prepare your Equipment
- Burette: Rinse the burette with the solution you’ll use, then fill it and ensure there are no air bubbles in the nozzle. Clamp the burette vertically on a stand.
- Pipette and Pipette Filler: Use a pipette filler to rinse and then fill the pipette with the solution of unknown concentration.
- Conical Flask: Rinse the conical flask with distilled water to ensure it’s clean and free of contaminants.
Set Up the Experiment
- Place the solution of unknown concentration (often the base) in the conical flask using the pipette. Typically, 25 cm³ of this solution is used.
- Add a few drops of a suitable indicator to the solution in the conical flask. For acid-base titrations, common indicators include:
- Phenolphthalein: Turns colourless in acid and pink in alkali.
- Methyl Orange: Changes from red in acid to yellow in alkali.
Start the Titration
- Position the conical flask under the burette, ensuring the tip of the burette is just above the opening of the flask.
- Open the burette tap slowly, allowing the solution of known concentration (the titrant) to flow into the conical flask while swirling the flask continuously.
Detect The Endpoint
- The endpoint is reached when the indicator changes colour, signalling that the reaction is complete. This occurs when the acid and base have reacted in the correct stoichiometric ratio.
- Slow down the addition of the titrant as the colour change becomes apparent, adding drop by drop to avoid overshooting the endpoint.
Recording Results
- Note the initial and final readings on the burette to calculate the volume of titrant added, known as the titre.
- Repeat the titration several times (typically 3-5) until you achieve consistent results (within 0.1 cm³).
Calculate Concentration
- Use the balanced chemical equation to determine the stoichiometric relationship between the reactants.
- Apply the formula:

- Rearrange the formula to calculate the unknown concentration.
Tips for a Successful Titration
- Avoid Air Bubbles: Ensure the burette and pipette are free from air bubbles to maintain accuracy.
- Consistent Technique: Swirl the conical flask gently and consistently to mix the solutions thoroughly.
- Use White Tile: Place a white tile under the flask to better observe the colour change.
- Clean Equipment: Always rinse your apparatus with the solutions you’ll use to prevent contamination.
What is the Purpose of a Titration Experiment?
The purpose of a titration experiment is to find out the concentration (or molarity) of an unknown solution by carefully reacting it with a solution of known concentration. This process involves a step-by-step addition of the known solution (called the titrant) into the unknown solution until the reaction is complete. The point at which this happens is called the endpoint, and it’s usually indicated by a colour change or a pH shift.
Why Is Titration Important For Students?
Titration is a key method in chemistry because it provides a precise and reliable way to measure concentrations. It’s used to:
- Calculate Molarity: By knowing the volume of the solutions and their chemical relationship, you can determine the molarity (moles per litre) of the unknown solution.
- Balance Reactions: Titration helps confirm the exact ratios in chemical reactions, particularly for acids and bases.
- Solve Real-Life Problems: Titration is widely used in areas like:
- Testing the acidity of beverages like wine or juice.
- Ensuring correct levels of active ingredients in medications.
- Checking water quality for pollutants or pH levels.
Why Should Students Learn Titration?
For A-Level Chemistry students, understanding titration is essential for several reasons:
- Mastering Molarity Calculations: Titrations are one of the best ways to practise applying mole concepts and stoichiometry.
- Gaining Hands-On Lab Skills: It’s a fundamental experiment that teaches precision, observation, and analysis.
- Exam Success: Questions on titration frequently appear in A-Level exams, so mastering it boosts both theoretical and practical marks.
What Is Redox Titration Experiment?
Redox titration is a type of titration where a reduction-oxidation (redox) reaction occurs between the titrant and the analyte (the substance being analysed). Unlike acid-base titration, redox titration involves electron transfer between the reactants, rather than proton transfer.
Purpose of Redox Titration:
- To determine the concentration of an unknown solution through a redox reaction.
- Commonly used to analyse substances such as iron, hydrogen peroxide, and potassium permanganate.
How It Works:
- A solution of known concentration (the titrant) is added to the analyte until the redox reaction reaches its endpoint.
- Indicators or the natural colour change of the reactants often indicate the endpoint (e.g., potassium permanganate acts as its own indicator).
How To Do Redox titration? Examples:
- Permanganate Titration: Potassium permanganate (KMnO₄) is used to oxidise iron(II) ions in acidic solutions. The endpoint is reached when the purple permanganate solution remains faintly pink.
- Iodometric Titration: Involves iodine (I₂) as part of the reaction, often used to determine the amount of oxidising agents like chlorine or bleach.
What Is Back Titration Experiment?
Back titration is a technique used when a substance is difficult to analyse directly via normal titration. Instead of directly titrating the analyte, an excess of a standard solution is added to react with it. The remaining excess of the standard solution is then titrated with another solution to determine how much was left unreacted.
Purpose of Back Titration:
- To analyse substances that are not soluble in water, react slowly, or do not produce clear endpoints.
- Common in industries like pharmaceuticals (e.g., determining calcium carbonate content in antacids).
How It Works:
To perform a back titration, you start by adding a carefully measured amount of a reagent with a known concentration to the analyte in excess. Once the reaction between the reagent and the analyte is complete, there will be some leftover reagent. At this point, the remaining excess reagent is titrated with a second reagent. This final step helps determine exactly how much of the original reagent was used up in the reaction with the analyte.
How To Do Back Titration? Examples:
- Calcium Carbonate in Limestone: Hydrochloric acid reacts with calcium carbonate, and the excess HCl is titrated with sodium hydroxide.
- Ammonia Content in Fertiliser: Sulfuric acid reacts with ammonia, and the leftover acid is titrated with sodium hydroxide.
Differences Between Redox and Back Titration
| Aspects | Redox Titration | Back Titration |
| Reaction Type | Involves electron transfer (oxidation-reduction). | Involves indirect titration of excess reagent. |
| Purpose | Used for analysing redox-active species. | Used for substances hard to titrate directly. |
| Indicators | May use redox-sensitive indicators or natural colour changes. | Uses standard acid-base or other titration indicators. |
| Example Use | Determining iron content in iron tablets. | Determining calcium carbonate in antacids. |
Both methods are essential tools in analytical chemistry, allowing chemists to measure concentrations and understand chemical properties even in complex scenarios.
Conclusion
Titration experiments are a vital part of A-Level Chemistry, as they help students develop practical skills and deepen their understanding of key chemical principles. Moreover, from determining molarity to mastering techniques like redox and back titration, these experiments not only prepare students for exams but also for real-world applications in industries such as medicine and environmental science.
Furthermore, for students needing extra guidance, A-level Chemistry Tutors can provide personalised support, thereby building confidence in performing and understanding titration experiments. Ultimately, with consistent practice, precision, and expert help, success in A-Level Chemistry becomes well within reach!
FAQs:
What is titration in chemistry?
Titration is a laboratory technique used to find the concentration of a solution by reacting it with another solution of known concentration. It works by slowly adding one solution (the titrant) to another until the reaction is complete, which is usually shown by a colour change using an indicator.
In GCSE and A-Level chemistry, titration is most commonly used in acid–alkali reactions to determine an unknown concentration accurately. The key idea is precision: the volume needed to reach the end point tells you how concentrated the unknown solution is.
What is titration in acid and base?
Titration in acid and base refers to a laboratory technique used to determine the concentration of an unknown acid or base solution. This is done by reacting it with a solution of known concentration (the titrant) until neutralisation occurs. An indicator, such as phenolphthalein or methyl orange, is often used to signal the endpoint, where the acid and base have reacted in the correct stoichiometric ratio. The volume of the titrant used is then used to calculate the concentration of the unknown solution.
What is the difference between a Strong and a Weak Base?
A strong base dissociates completely in water, releasing all of its hydroxide ions (OH⁻) into the solution. Examples include sodium hydroxide (NaOH) and potassium hydroxide (KOH). In contrast, a weak base only partially dissociates in water, producing fewer hydroxide ions. Examples of weak bases include ammonia (NH₃) and ammonium hydroxide (NH₄OH). This difference affects their pH, strength of reaction, and their role in chemical processes.
What is the difference between a Strong and a Weak Acid?
A strong acid ionises completely in water, releasing all of its hydrogen ions (H⁺) into the solution. Examples include hydrochloric acid (HCl) and sulfuric acid (H₂SO₄). On the other hand, a weak acid only partially ionises in water, producing fewer hydrogen ions. Examples include acetic acid (CH₃COOH) and citric acid. This distinction influences their pH levels, reactivity, and the way they behave in titration and other chemical reactions.


